Notes on setting up a Kubernetes cluster on CoreOS (stable) with DigitalOcean's platform.
Partially stolen from this guide by kevashcraft
- Spin up 4 VMs with CoreOS Stable. One will be the master, the other 3 will be workers
- Tag them with
k8s:masterandk8s:workerrespectively, along with a tag for the cluster - Droplets can be created via your DO control panel, or by using doctl. Just change the
CLUSTER_NAME,CLUSTER_DOMAIN, andSSHKEY_IDvalues below to match your own, then save the file tocluster_create.sh,chmod +x cluster_create.sh, then run it./cluster_create.sh. If you don't already have doctl setup, it will probably be easier to just do this from the DO control panel if you only need to do a one-time setup for development.
#!/bin/bash

# Set your cluster info
export CLUSTER_NAME=my-kube-cluster
export CLUSTER_DOMAIN=example.com  # Cluster domain can be publically registered, or a private domain
export REGION=nyc1                 # List available regions with `doctl compute region list`
export DROPSIZE=s-2vcpu-2gb        # List available sizes with `doctl compute size list`
export SSHKEY_ID=user@example.com  # List your keys with `doctl compute ssh-key list`

# Create tags
doctl compute tag create k8s:master
doctl compute tag create k8s:worker
doctl compute tag create k8s-${CLUSER_NAME}

doctl compute droplet create ${CLUSTER_NAME}-master.${CLUSTER_DOMAIN} --region ${REGION} --image coreos-stable --size ${DROPSIZE} --tag-names k8s-${CLUSTER_NAME},k8s:master --ssh-keys "${SSHKEY_ID}" --enable-private-networking --enable-ipv6
for i in $(seq 3); do
    doctl compute droplet create ${CLUSTER_NAME}-worker${i}.${CLUSTER_DOMAIN} --region ${REGION} --image coreos-stable --size ${DROPSIZE} --tag-names k8s-${CLUSTER_NAME},k8s:worker --ssh-keys "${SSHKEY_ID}" --enable-private-networking --enable-ipv6
done

doctl compute droplet list
- Setup DNS
- Create
node_setup.sh
#!/bin/bash
CNI_VERSION="v0.6.0"
RELEASE="v1.12.2"  # get latest from https://dl.k8s.io/release/stable.txt

# Docker
systemctl enable docker
systemctl start docker

# CNI Plugin
mkdir -p /opt/cni/bin
curl -L "https://github.com/containernetworking/plugins/releases/download/${CNI_VERSION}/cni-plugins-amd64-${CNI_VERSION}.tgz" | tar -C /opt/cni/bin -xz

# Kubernetes
mkdir -p /opt/bin
cd /opt/bin
curl -L --remote-name-all https://storage.googleapis.com/kubernetes-release/release/${RELEASE}/bin/linux/amd64/{kubeadm,kubelet,kubectl}
chmod +x /opt/bin/*

curl -sSL "https://raw.githubusercontent.com/kubernetes/kubernetes/${RELEASE}/build/debs/kubelet.service" | sed "s:/usr/bin:/opt/bin:g" > /etc/systemd/system/kubelet.service
mkdir -p /etc/systemd/system/kubelet.service.d
curl -sSL "https://raw.githubusercontent.com/kubernetes/kubernetes/${RELEASE}/build/debs/10-kubeadm.conf" | sed "s:/usr/bin:/opt/bin:g" > /etc/systemd/system/kubelet.service.d/10-kubeadm.conf

systemctl daemon-reload
systemctl enable kubelet
systemctl start kubelet
- Make it executable:
chmod +x node_setup.sh
- Copy the setup script to master node with
scp node_setup.sh core@k8s-master:(your SSH key will be associated with thecoreuser) - SSH into
k8s-masterandsudo su -to root - Run the node setup and then initialize Kubernetes with
kubeadm
~core/node_setup.sh
export priv_ip=$(ip -f inet -o addr show eth1|cut -d\  -f 7 | cut -d/ -f 1 | head -n 1)
kubeadm init --apiserver-advertise-address=$priv_ip --pod-network-cidr=192.168.0.0/16```
- Copy the provided
kubeadm initline for use with the workers - Setup local
kubectl:
export KUBECONFIG=/etc/kubernetes/admin.conf
echo 'export KUBECONFIG=/etc/kubernetes/admin.conf' >> ~/.bash_profile
- Copy the setup script to master node with
scp node_setup.sh core@k8s-master:(your SSH key will be associated with thecoreuser) - SSH into
k8s-masterandsudo su -to root - Run the node setup and then initialize Kubernetes with
kubeadm
~core/node_setup.sh
kubeadm init ...<paste the kubeadm command provided by the master node>...
- Install kubectl, if required: https://kubernetes.io/docs/tasks/tools/install-kubectl/
- Cat and copy from the master node:
cat /etc/kubernetes/admin.conf - On your local machine or admin machine:
mkdir -p ~/.kube vim ~/.kube/configand paste the contents. Make sure to edit theserver:line so that it points to your master node's hostname or public IP address, then save the filekubectl get nodesto view a list of all nodes and test that kubectl is working
- CNI addons info: https://kubernetes.io/docs/setup/independent/create-cluster-kubeadm/#pod-network
- Install Calico:
 kubectl apply -f https://docs.projectcalico.org/v3.1/getting-started/kubernetes/installation/hosted/rbac-kdd.yaml
 kubectl apply -f https://docs.projectcalico.org/v3.1/getting-started/kubernetes/installation/hosted/kubernetes-datastore/calico-networking/1.7/calico.yaml
- Once Calico finishes provisioning, all nodes and pods should go into
Readystatus. If not, then usekubectl describeto figure out what went wrong.
- Install notes: https://github.com/helm/helm/blob/master/docs/install.md#from-script
- Run on local admin machine:
curl https://raw.githubusercontent.com/kubernetes/helm/master/scripts/get | bash
- Add
- Once installed, initialize Helm, which will set it up locally, and also create a Tiller pod on your cluster. This will also add the required RBAC permissions so that Tiller can actually do stuff:
helm init
kubectl create serviceaccount --namespace kube-system tiller
kubectl create clusterrolebinding tiller-cluster-rule --clusterrole=cluster-admin --serviceaccount=kube-system:tiller
kubectl patch deploy --namespace kube-system tiller-deploy --patch '{"spec": {"template": {"spec": {"serviceAccount": "tiller"} } } }'
- Use
kubectl get po --all-namespacesto check when the Tiller pod goes intoReadystatus, then usehelm versionto make sure it's working
- More information can be found at the ingress-nginx deploy docs
- Deploy with the following:
kubectl create -f https://raw.githubusercontent.com/kubernetes/ingress-nginx/master/deploy/mandatory.yaml
kubectl create -f https://raw.githubusercontent.com/kubernetes/ingress-nginx/master/deploy/provider/baremetal/service-nodeport.yaml
kubectl patch deployment nginx-ingress-controller -n ingress-nginx --patch '{"spec": {"template": {"spec": {"hostNetwork": true} } } }'
- Once provisioned, use
kubectl get svc --all-namespacesto check the assigned ports - Create a new Load Balancer on DO

- More information can be found at the cert-manager docs
- Using Helm:
helm install --name cert-manager --namespace kube-system stable/cert-manager
- Create
letsencrypt.yaml, replacing the email address with your own. For testing, replaceletsencrypt-prodwithletsencrypt-stagingto get around rate limits.
apiVersion: certmanager.k8s.io/v1alpha1
kind: ClusterIssuer
metadata:
  name: letsencrypt-prod
spec:
  acme:
    # The ACME server URL
    server: https://acme-v02.api.letsencrypt.org/directory
    # Email address used for ACME registration
    email: admin@example.com
    # Name of a secret used to store the ACME account private key
    privateKeySecretRef:
      name: letsencrypt-prod
    # Enable HTTP01 validations
    http01: {}
- Apply the configuration:
kubectl apply -f letsencrypt.yaml - Check the cert-manager documentation for information on how to use this functionality
- Issuing/using wildcard certs
- Import the key and certificate into a secret. Example for a secret called
ycnrg-wildcardfor my*.ycnrg.orgcertificate from Comodo. If you will be using this certificate to proxykubernetes-dashboard(which is part of thekube-systemnamespace by default), you can create the secret in that namespace as well. Currently, ingress-nginx will not allow referencing secrets from other namespaces.
kubectl create secret tls ycnrg-wildcard --key keys/wildcard_ycnrg-org.key --cert certs/wildcard_ycnrg-org_chained.pem
kubectl -n kube-system create secret tls ycnrg-wildcard --key keys/wildcard_ycnrg-org.key --cert certs/wildcard_ycnrg-org_chained.pem
- Alternatively, create the resource via a YAML definition. This requires extracting just the base64 portion of the x509 key and certificate files and concatenating it onto a single line, minus the
---BEGINand---ENDlines. Usefor i in $(head -n-1 my_certificate.crt | tail -n+2); do echo -en "$i"; done ; echo ""to produce the necessary string.
apiVersion: v1
kind: Secret
metadata:
  name: ycnrg-wildcard
  namespace: default
type: kubernetes.io/tls
data:
  tls.crt: xxxxxx
  tls.key: xxxxxx
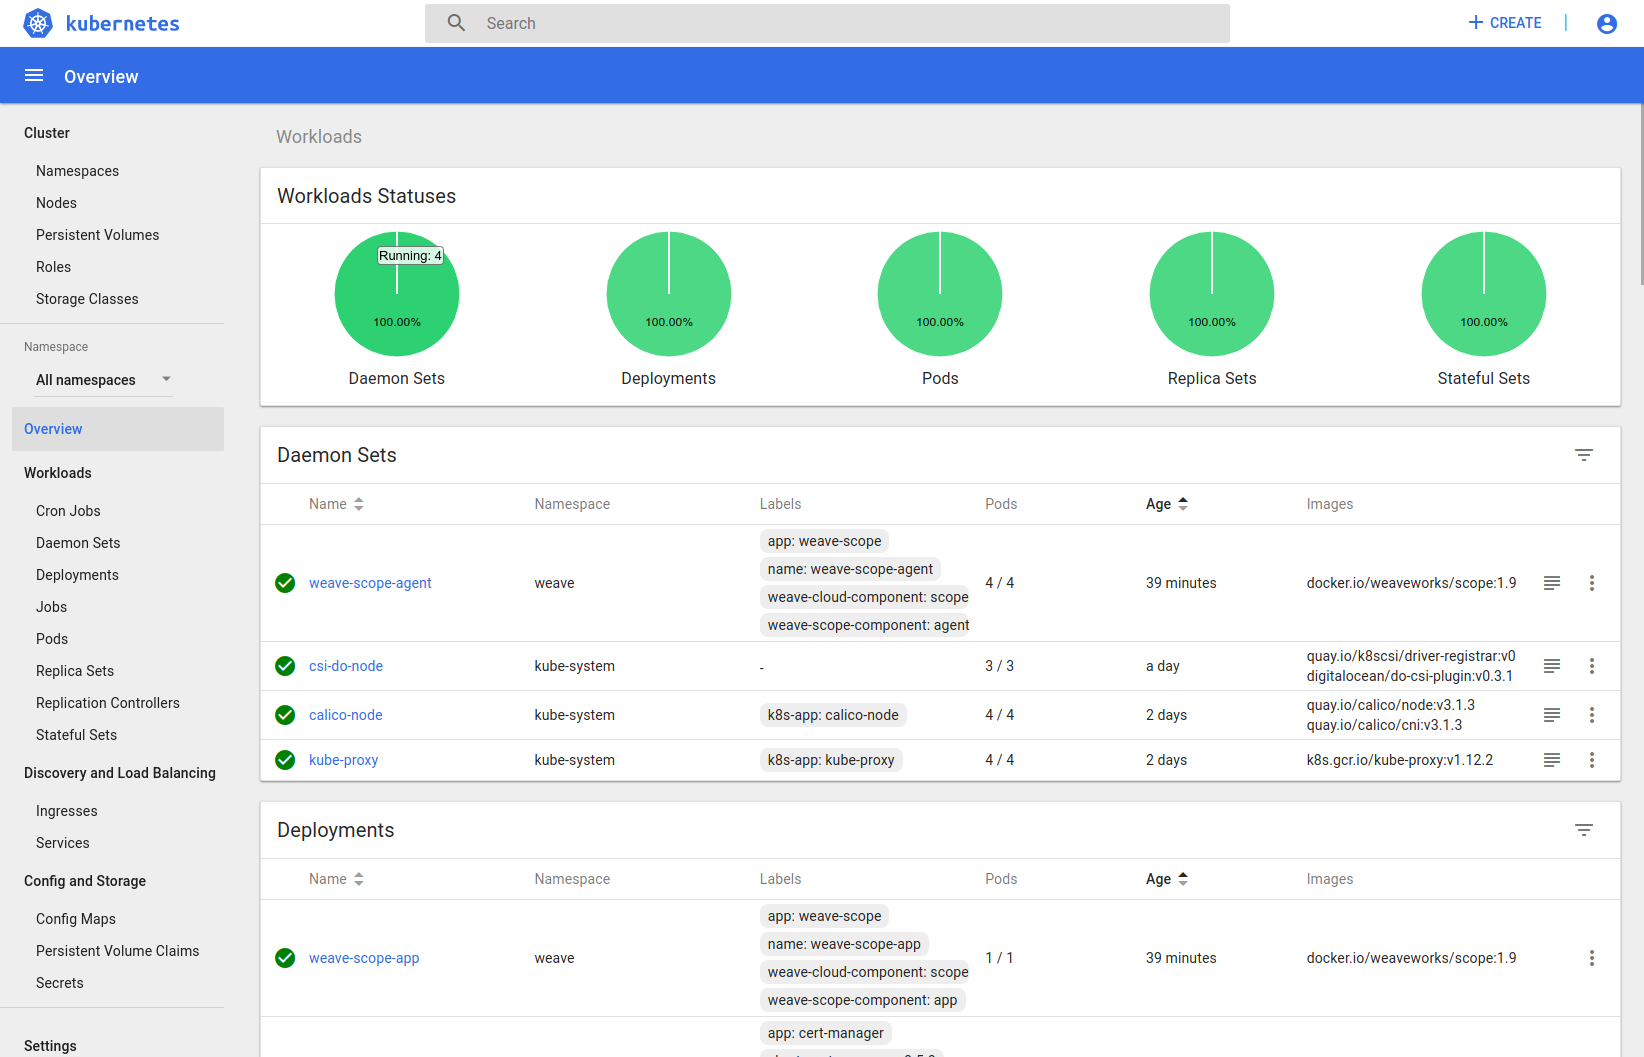
- Install with:
kubectl apply -f https://raw.githubusercontent.com/kubernetes/dashboard/master/src/deploy/recommended/kubernetes-dashboard.yaml
- Next, create an Ingress resource. Add the following to
ingress-kubedash.yaml, making sure to update thehostandtls.secretNamevalues to match your own:
---
kind: Ingress
apiVersion: extensions/v1beta1
metadata:
  name: kubernetes-dashboard
  namespace: kube-system
  annotations:
    nginx.ingress.kubernetes.io/rewrite-target: /
    nginx.ingress.kubernetes.io/secure-backends: "true"
spec:
  rules:
    - host: load-balancer.example.com
      http:
        paths:
          - path: /dashboard
            backend:
              serviceName: kubernetes-dashboard
              servicePort: 443
  tls:
    - secretName: my-certificate
- Check the Kubernetes Dashboard documentation on generating a user and token for logging in
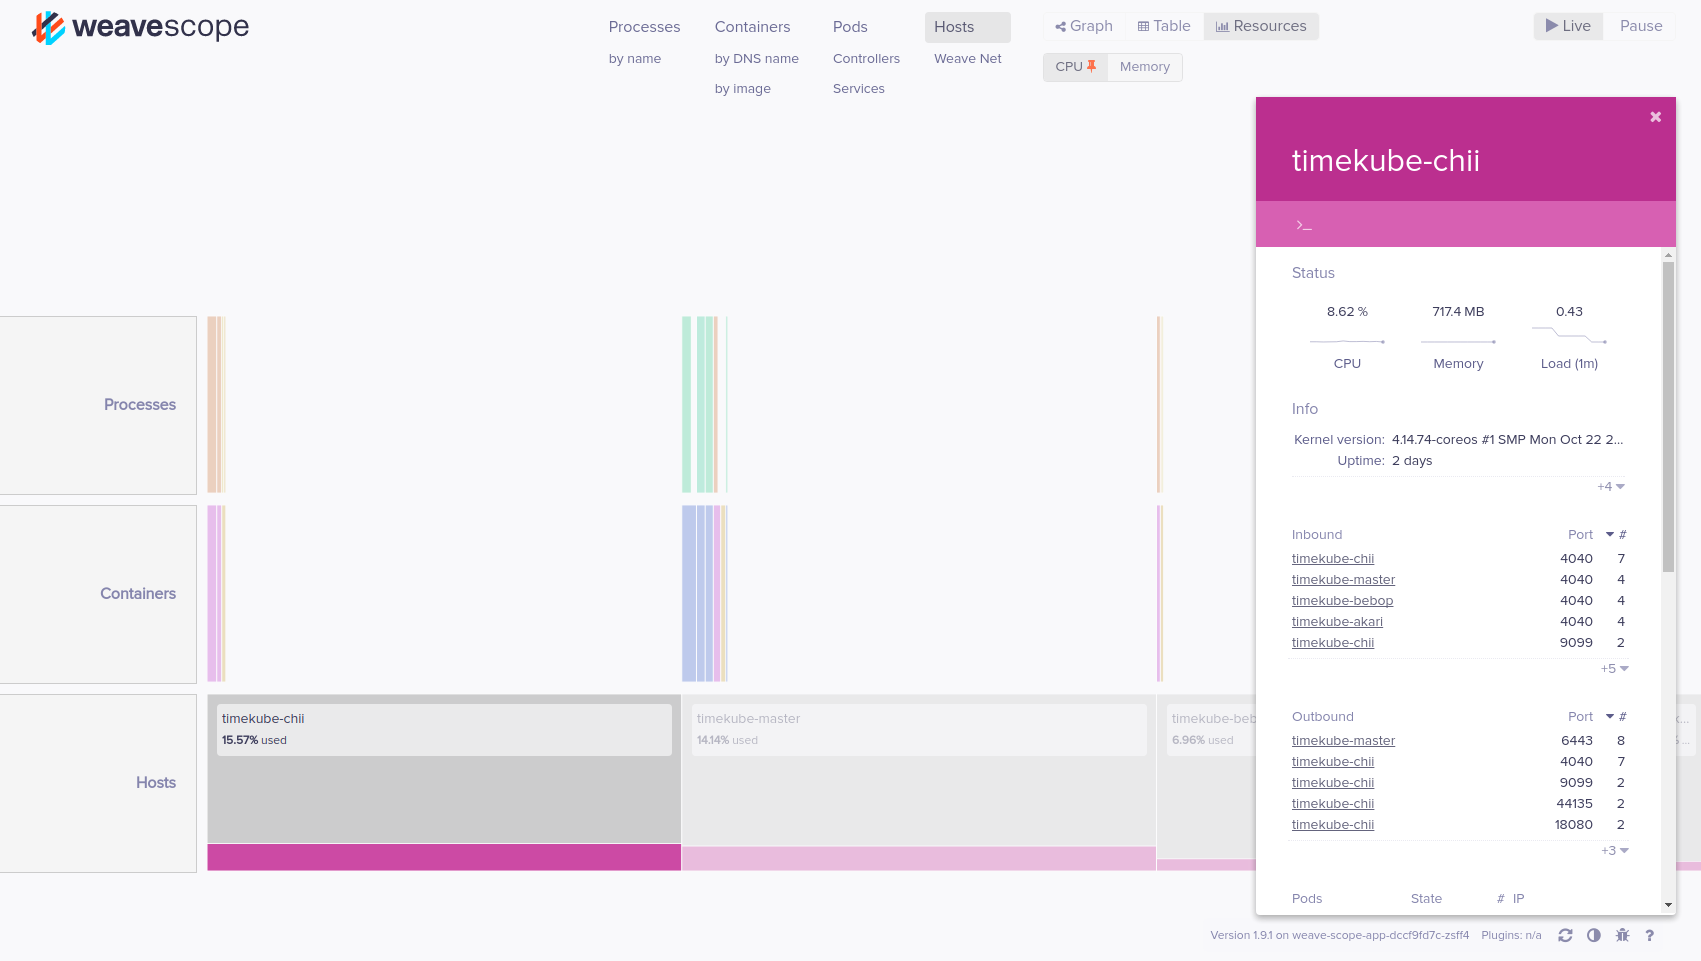
- Install with:
kubectl apply -f "https://cloud.weave.works/k8s/scope.yaml?k8s-version=$(kubectl version | base64 | tr -d '\n')"
- Generate a secret to contain htpasswd data. This can contain one or more users. Note that currently ingress-nginx does NOT support bcrypt, so MD5 hashes must be used. This will create a file called
authwith an entry forUSER-- you will be prompted to enter a password.
htpasswd -c auth USER
- To add additional users:
htpasswd auth USERTWO
- Create the secret:
kubectl -n weave create secret generic basic-auth --from-file=auth
- Next, create the Ingress resource to expose Weave via ingress-nginx. As before, be sure to update the
hostandtlssections appropriately.ingress-weave.yaml:
---
kind: Ingress
apiVersion: extensions/v1beta1
metadata:
  name: weave
  namespace: weave
  annotations:
    nginx.ingress.kubernetes.io/rewrite-target: /
    nginx.ingress.kubernetes.io/auth-type: basic
    nginx.ingress.kubernetes.io/auth-secret: basic-auth
    nginx.ingress.kubernetes.io/auth-realm: 'weave'
spec:
  rules:
    - host: load-balancer.example.com
      http:
        paths:
          - path: /weave
            backend:
              serviceName: weave-scope-app
              servicePort: 80
  tls:
    - secretName: my-certificate
- And create with kubectl:
kubectl create -f ingress-weave.yaml
- Generate a new API key from DO control panel with read/write access
- Create a new YAML file
do_secret.yamlcontaining the key:
---
apiVersion: v1
kind: Secret
metadata:
  name: digitalocean
  namespace: kube-system
stringData:
  access-token: "YOUR_ACCESS_TOKEN"
- Then add it with
kubectl create -f do_secret.yaml - Next, install the latest release of csi-digitalocean:
kubectl apply -f https://raw.githubusercontent.com/digitalocean/csi-digitalocean/master/deploy/kubernetes/releases/csi-digitalocean-v0.3.1.yaml
- Test it out by creating a new PVC. First create the manifest
pv_test.yaml:
apiVersion: v1
kind: PersistentVolumeClaim
metadata:
  name: csi-pvc
spec:
  accessModes:
  - ReadWriteOnce
  resources:
    requests:
      storage: 5Gi
  storageClassName: do-block-storage
- Then create it with
kubectl create -f pv_test.yaml - Check
kubectl get pvto see it in the list, and confirm a new volume has been added to your DO control panel - Use
kubectl delete PVC_NAMEto delete the volume, which will also remove it from your DO control panel and stop billing