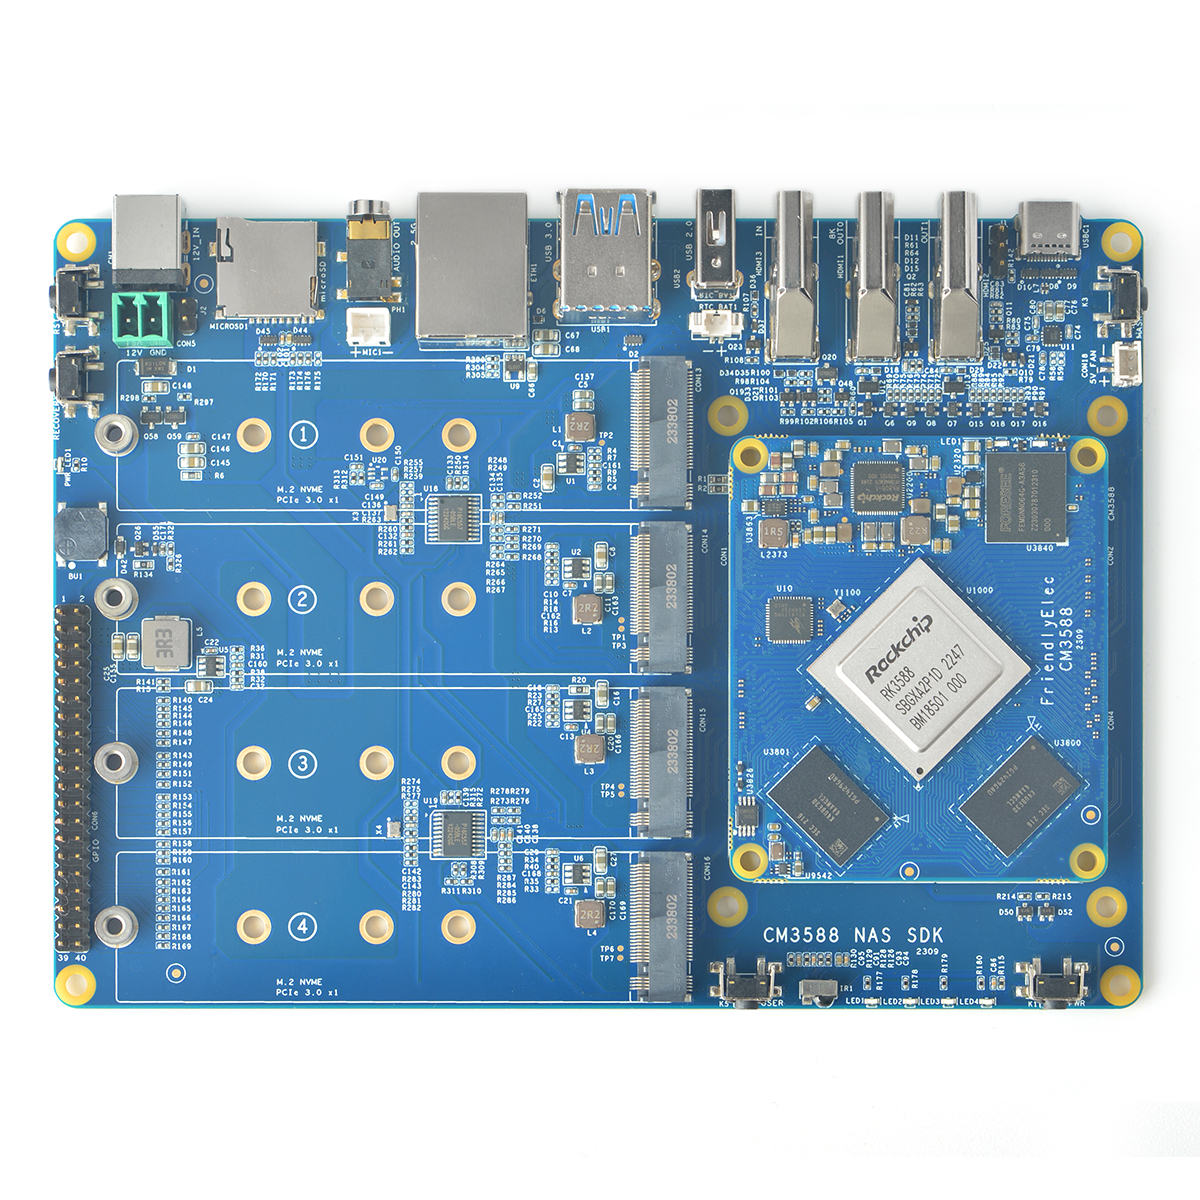
The FriendlyElec (NanoPC) CM3588 is a RK3588 based solution with 4/8/16GB LPDDR4x memory and 0/64GB eMMC flash storage. The inital carrier board released with the CM3588 features 4x M.2 NVMe SSD slots (PCIe 3.0 x1 each) and a 2.5gbps RJ45 port, making it an attractive option for a low powered silent NAS at $130/$145/$174 depending on which RAM configuration you purchase.
I ordered this in response to the LTT video. I have seen a few people struggling to configure these, and figured I would offer some basic guides in order to get those who need some assistance on getting their NAS up and going.
I will be using the precompiled Debian 12 installer found here. ( 01_Official images > 02_SD-to-eMMC images > rk3588-eflasher-debian-bookworm-core-6.1-arm64-xxxxxxxx.img.gz)
The FriendlyElec Wiki is actually pretty good, but it can feel like a wall of text/commands to run and can be overwhelming to a new user.
Want to power this over POE+? I used this adapter, and verified it supplies up to 25 watts and passes 2.5gbps.
Typical power consumption with 4 Micron 2300 NVMe drives and (2) Noctua NF-A4x10 fans @ 5V:
- idle = ~5w idle
- "typical" load = ~7-15w
- stress testing CPU and SSDs = ~20-23w
I have found that transfering at linerate (2.5gbps) uses about 35% CPU and ~15-20w in my testing.
I remixed sgofferj's CM3588-NAS-case to accomadate the case fan screws (M5.5) that come with the Noctua fans. You can find that here.
Since I bought a 8GB RAM/64GB eMMC model, I will be using an SD to eMMC install image for this guide. You will need a MicroSD card that is 8GB or larger.
- Download Debian 12 Bookworm Core from here. ( 01_Official images > 02_SD-to-eMMC images > rk3588-eflasher-debian-bookworm-core-6.1-arm64-xxxxxxxx.img.gz)
- Use a tool like 7Zip, to extract the .img file
- Use Balena Etcher to write the image to the SD card.
- Install the SD card into the CM3588 NAS, then power the unit on.
- If you use one of the HDMI out ports, you can track the progress. Otherwise you can wait ~5 minutes (mine consistently takes around 80 seconds to install).
- Power down the unit, then power it back on.
- If you have HDMI hooked up, you should be prompted at the main login screen. If you want to use SSH, scan your network or check your router/DHCP server for the device's IP address.
There are 2 accounts by default.
- root/fa
- pi/pi (in the sudoers group)
In this guide we will be:
- Changing root password
- Deleting default/Pi user
- Creating a new user
- Disabling root SSH logins
- Reconfiguring Apt sources
- Compiling linux-headers for DKMS
- Installing ZFS
- Installing OpenMediaVault
Use your favorite tool to SSH into the unit.
passwdEnter a new password, and confirm.
We are going to create our own user, so we don't need this one.
deluser piSet your locale
If you're not US based, change this to your locale
sudo localectl set-locale LANG=en_US.UTF-8I am using nas in this example, but feel free to name it whatever you want, then we will add it to sudoers group
useradd naspasswd nasusermod -aG sudo -d /home/nas nasTo verify user was added to the sudoers group
getent group sudoIf you need to add the users home dir manually
sudo mkdir -p /home/nas
sudo chmod 755 /home/nas
sudo usermod -d /home/nas nas
Move over skeleton files
sudo cp -r /etc/skel/. /home/nas/
sudo chown -R nas:nas /home/nas
Configure the user to use bash
chsh -s /bin/bash nasThis is for security, as the username is always root and the access rights are unlimited.
You can skip this step if installing OMV right away, otherwise you will need to run it again later.
nano /etc/ssh/sshd_configGo to line 33, change PermitRootLogin yes to PermitRootLogin no.
systemctl restart sshd
exit
SSH back in as your newly created user
By default the sources file comes with a mirror that is based out of China. While this is fine, it would be much faster if you used the local Debian apt sources. So we will change them back. I have commented them out for now.
sudo cp /etc/apt/sources.list /etc/apt/sources.list.old
sudo nano /etc/apt/sources.list#deb https://mirrors.aliyun.com/debian bookworm main non-free contrib
#deb-src https://mirrors.aliyun.com/debian bookworm main non-free contrib
#deb https://mirrors.aliyun.com/debian-security bookworm-security main
#deb-src https://mirrors.aliyun.com/debian-security bookworm-security main
#deb https://mirrors.aliyun.com/debian bookworm-backports main non-free contrib
#deb-src https://mirrors.aliyun.com/debian bookworm-backports main non-free contrib
deb http://deb.debian.org/debian bookworm main non-free-firmware contrib
deb-src http://deb.debian.org/debian bookworm main non-free-firmware
deb http://deb.debian.org/debian-security/ bookworm-security main non-free-firmware
deb-src http://deb.debian.org/debian-security/ bookworm-security main non-free-firmware
deb http://deb.debian.org/debian bookworm-updates main non-free-firmware
deb-src http://deb.debian.org/debian bookworm-updates main non-free-firmware
deb http://deb.debian.org/debian bookworm-backports main non-free-firmware contrib
deb-src http://deb.debian.org/debian bookworm-backports main non-free-firmwareThen update and upgrade apt
sudo apt update && sudo apt upgradeIn order to install ZFS, we first need to install linux headers for our kernel to add DKMS support.
Luckily, pre-compiled headers can already be found in /opt/archives.
Note: Versions will change, if the command fails then
ls /opt/archivesto find the file to use
sudo -i
dpkg -i /opt/archives/linux-*Now that we have Linux headers, we can use apt to install ZFS
sudo apt install zfs-dkms zfsutils-linuxNow that ZFS is installed, we will try to run a command to test that ZFS and DKMS are actually functional.
zpool statusIf this works, it will report that we have 0 pools. If you get an error that says: "The ZFS modules are not loaded. Try running '/sbin/modprobe zfs' as root to load them", that means DKMS isn't working properly and you likely missed a step up above or it failed to compile, which should have given you an error.
Now that we have ZFS working, we can create our ZFS pool. You have a few options, depending on how much redundancy or performance you want. I would recommend the following options, although there are a few more. You will have to check the ZFS documenation for any other array types.
ZFS should be working now.
Create the zfs drive now by running the following command
zpool create <poolname> <raidtype> <devices> <devices> [<devices>] [<devices>]example
sudo zpool create zfs-nmve-z1 raidz1 /dev/nvme0n1 /dev/nvme1n1 /dev/nvme2n1 /dev/nvme3n1After that, run the below command to verify the drive was created.
zpool statusIt should look like this
zpool status
  pool: zfs-nmve-z1
 state: ONLINE
config:

        NAME         STATE     READ WRITE CKSUM
        zfs-nmve-z1  ONLINE       0     0     0
          raidz1-0   ONLINE       0     0     0
            nvme0n1  ONLINE       0     0     0
            nvme1n1  ONLINE       0     0     0
            nvme2n1  ONLINE       0     0     0
            nvme3n1  ONLINE       0     0     0

errors: No known data errors
Openmedia Vault uses podman for certain apps, and you are going to run into two issues. Permissions and the OverlayFS.
Run the following two commands to fix the issue with permissions.
zfs set acltype=posixacl <poolname>example
sudo zfs set acltype=posixacl zfs-nmve-z1Next you need to add fuse-overlayfs
sudo apt install fuse-overlayfsThen run
vi /etc/containers/storage.confor
nano /etc/containers/storage.confyour choice.
The conf file should look like the following.
[storage]
driver = "overlay"
runroot = "/run/containers/storage"
graphroot = "/var/lib/containers/storage"

[storage.options]
pull_options = {enable_partial_images = "false", use_hard_links = "false", ostree_repos=""}
#mount_program = "/usr/local/bin/overlayzfsmount"
mount_program = "/usr/bin/fuse-overlayfs"

[storage.options.overlay]
mountopt = "nodev"
From this point,
Install OpenMediaVault from the website
https://docs.openmediavault.org/en/latest/installation/on_debian.html
if you used the nas user from the github page you'll be locked out. you need to run the following to add the ssh group to nas to login with it again. You will also need to disable permitrootlogin in the sshd_config again.
sudo usermod –a –G _ssh nasThen run the omv-extras install
wget -O - https://github.com/OpenMediaVault-Plugin-Developers/packages/raw/master/install | bashAfter that you should be all set.
In the WebGui
Run Updates
Go to System -> Update Management -> UpdatesHit the Magnifying Glass then do all updates.
Download Plugins
Go to System -> PluginsHit the Magnifying Glass
Then search for ZFS, install the plugin like normal. It should go through without any errors.
You should be all done now, Enjoy.
https://www.reddit.com/r/OpenMediaVault/comments/1dq4toy/omv7_cm3588_zfs_setup/
https://github.com/Vincent-Dalstra/CM3588?tab=readme-ov-file#changing-root-password


Thanks for the gist! This has been super helpful!
There are a couple of revisions that I would recommend though:
When it says:
do instead:
The line that says:
has the wrong type of dash(en-dash, instead of hyphen), which breaks the code. I have corrected the code in the above snippet, however.